pizza dough recipe no yeast
Pizza dough without yeast is a quick and simple solution for when you want homemade pizza but don’t have yeast on hand. It still yields a soft, chewy crust with a slight crispness, perfect for loading with your favorite toppings.
This no-yeast version eliminates rising time, making it faster and easier while still delivering satisfying results. It’s ideal for busy weeknights or last-minute pizza cravings.
Whether baked in the oven or on a pizza stone, this dough provides a delicious base that pairs beautifully with any sauce, cheese, and toppings you choose.
Ingredients List
– 2 cups all-purpose flour (plus more for dusting)
– 2 ½ teaspoons baking powder
– ½ teaspoon salt
– ¾ cup warm water
– 1 tablespoon olive oil (plus more for brushing)
Step-by-Step Instructions
Step 1: In a large mixing bowl, whisk together the flour, baking powder, and salt until well combined.
Step 2: Create a well in the center of the dry ingredients and pour in the warm water and olive oil.
Step 3: Mix with a wooden spoon or your hands until a shaggy dough forms. Add a little extra water if too dry or more flour if too sticky.
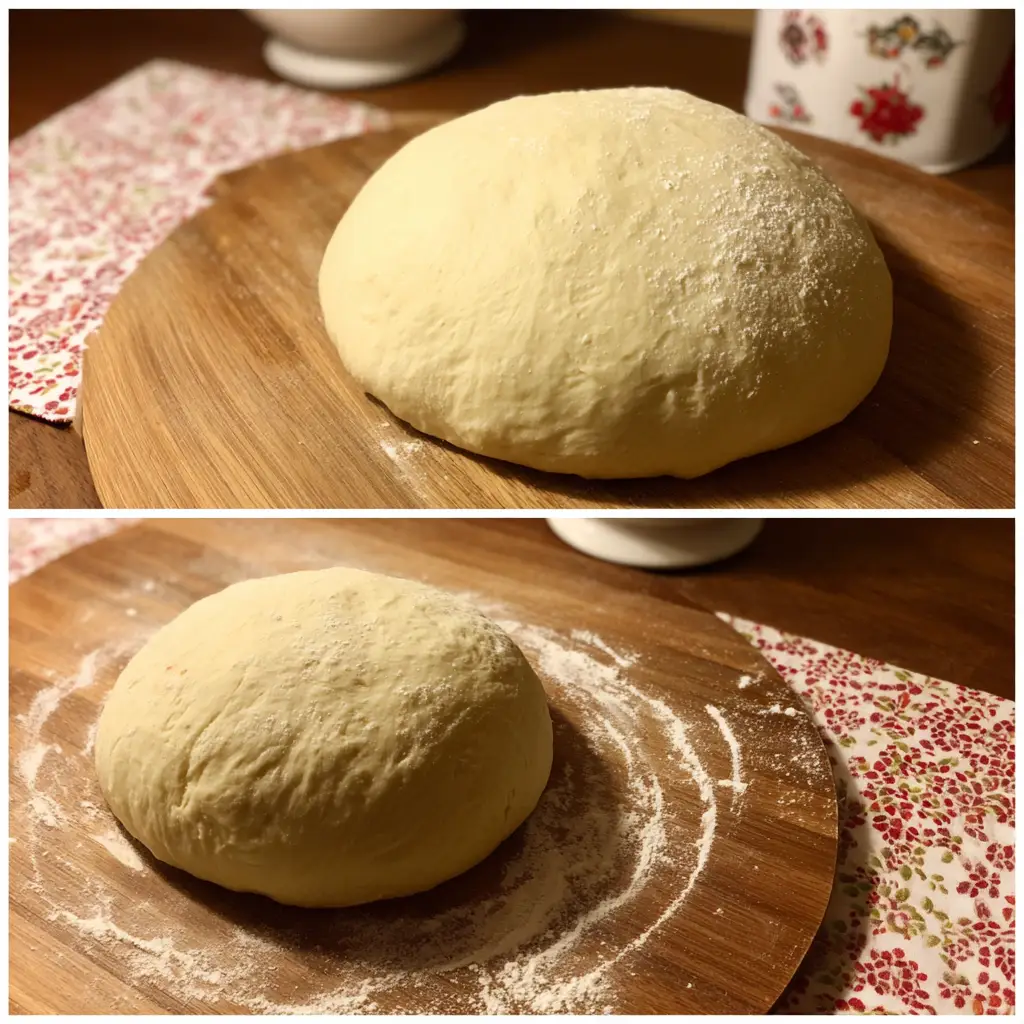
Step 4: Transfer the dough to a lightly floured surface. Knead for 2–3 minutes until smooth and elastic.
Step 5: Divide the dough into two portions if making personal-sized pizzas or keep it whole for one large pizza.
Step 6: Roll out the dough to your desired thickness with a rolling pin or your hands. Place onto a lightly greased baking sheet or pizza stone.
Step 7: Add your preferred pizza sauce, cheese, and toppings. Brush the edges with olive oil for extra crispness.
Step 8: Bake in a preheated oven at 425°F (220°C) for 12–15 minutes, or until the crust is golden brown and the cheese is melted and bubbly.
Step 9: Slice and serve immediately.
Cook Time
Prep Time: 10 minutes
Cook Time: 15 minutes
Total Time: 25 minutes
Servings
Makes 1 large pizza or 2 medium pizzas (serves 3–4)
Nutritional Information (approx. per slice, 1/8 of pizza)
Calories: 160
Carbs: 28g
Protein: 4g
Fat: 3g
Storage Instructions
Store leftover pizza in an airtight container in the refrigerator for up to 3 days. Reheat in the oven at 350°F (175°C) for about 8 minutes to crisp the crust again. The dough itself can be wrapped tightly and refrigerated for up to 24 hours before baking.
Pairings/Suggestions
This dough works with classic toppings like pepperoni, mushrooms, bell peppers, and mozzarella, but it’s also great for white pizzas with garlic, spinach, and ricotta. Pair with a side salad, garlic bread, or mozzarella sticks for a complete meal.
Seasonal Relevance
Pizza is a year-round favorite, and this no-yeast dough is especially handy in summer when you don’t want long prep times or in winter for cozy, last-minute dinners. It’s a versatile recipe for any occasion.
Health Benefits
By controlling the toppings and using fresh vegetables, lean proteins, and lighter cheeses, this pizza can be made healthier than takeout options. Whole wheat flour can be substituted for added fiber, and olive oil adds heart-healthy fats. This makes no-yeast pizza dough a balanced choice for family meals.

Pros and Cons
| Pros | Cons |
|---|---|
| Quick and easy with no rise time | Crust may not be as airy as yeast dough |
| Requires simple pantry ingredients | Best eaten fresh for best texture |
| Versatile with toppings and sauces | Not ideal for thick crust lovers |
| Kid-friendly and fun to make together | Less traditional flavor than yeast-based dough |
Conclusion
This pizza dough recipe with no yeast is a lifesaver for busy nights or spontaneous pizza cravings. With minimal ingredients and no rising required, you can have fresh, homemade pizza on the table in less than 30 minutes.
It’s a flexible, family-friendly recipe that can be customized endlessly with sauces, cheeses, and toppings to suit every taste. Quick, simple, and satisfying, this no-yeast dough proves that you don’t need yeast to enjoy a great pizza crust.

pizza dough recipe no yeast
Course: Pizza Dough Recipes3–4
servings10
minutes15
minutes160
kcalThis no-yeast pizza dough recipe is fast, simple, and delicious, delivering a soft and chewy crust in under 30 minutes. Perfect for busy nights, it pairs with any sauce, cheese, or toppings for a customizable homemade pizza.
Ingredients
– 2 cups all-purpose flour (plus more for dusting)
– 2 ½ teaspoons baking powder
– ½ teaspoon salt
– ¾ cup warm water
– 1 tablespoon olive oil (plus more for brushing)
Directions
- In a large mixing bowl, whisk together the flour, baking powder, and salt until well combined.
- Create a well in the center of the dry ingredients and pour in the warm water and olive oil.
- Mix with a wooden spoon or your hands until a shaggy dough forms. Add a little extra water if too dry or more flour if too sticky.
- Transfer the dough to a lightly floured surface. Knead for 2–3 minutes until smooth and elastic.
- Divide the dough into two portions if making personal-sized pizzas or keep it whole for one large pizza.
- Roll out the dough to your desired thickness with a rolling pin or your hands. Place onto a lightly greased baking sheet or pizza stone.
- Add your preferred pizza sauce, cheese, and toppings. Brush the edges with olive oil for extra crispness.
- Bake in a preheated oven at 425°F (220°C) for 12–15 minutes, or until the crust is golden brown and the cheese is melted and bubbly.
Recipe Video
Notes
- This no-yeast pizza dough comes together in minutes with pantry staples.Soft, chewy, and perfect for last-minute pizza nights without waiting for dough to rise.Customizable with any sauce, cheese, and toppings for a quick homemade meal.
FAQs
Q1: Can I use self-rising flour instead of all-purpose flour?
Yes, but skip the baking powder and salt since self-rising flour already contains those.
Q2: Can I make this dough gluten-free?
Yes, substitute a gluten-free all-purpose flour blend. Add a little extra water as gluten-free flour tends to be drier.
Q3: Can I cook this dough on the stovetop instead of the oven?
Yes. Roll the dough thin and cook it in a skillet over medium heat for 2–3 minutes per side before adding toppings, then finish under the broiler or in the oven.


