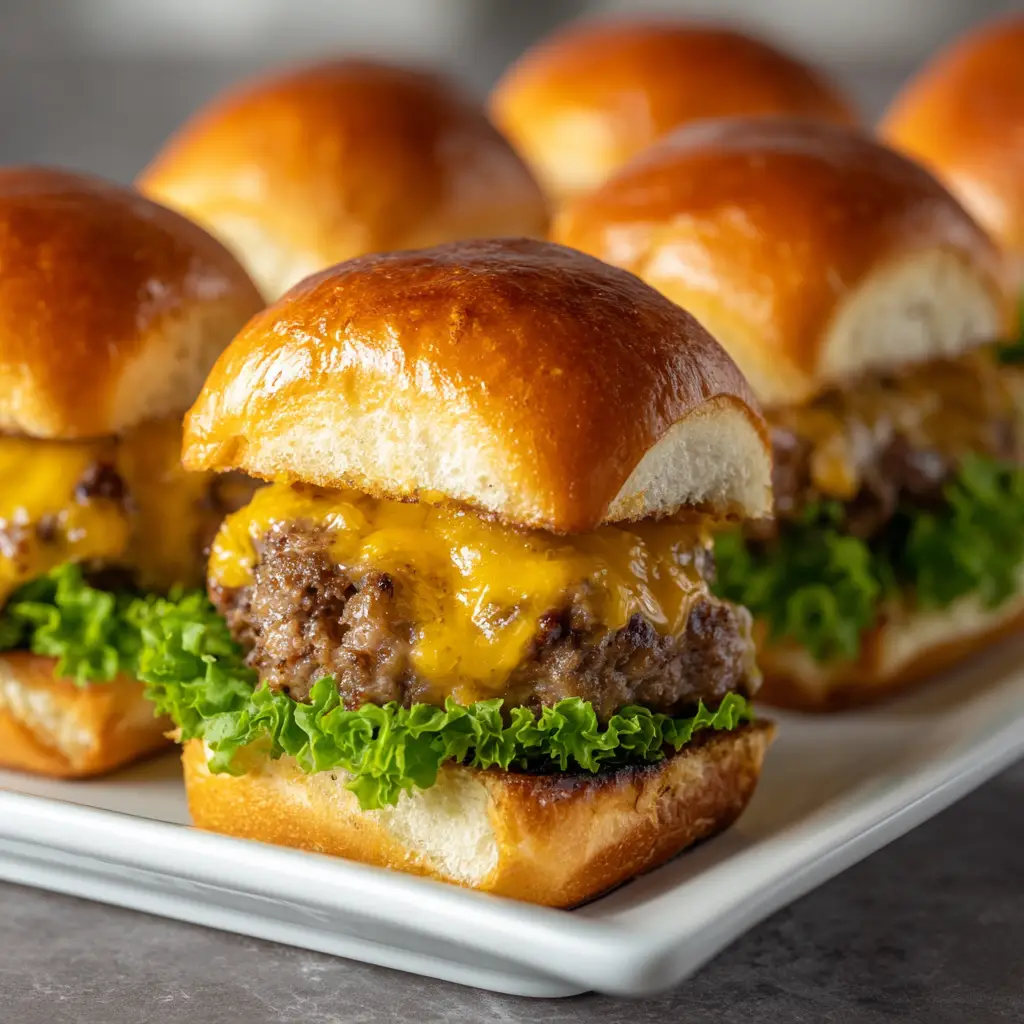
Chopped Cheeseburger Sliders
Chopped cheeseburger sliders are the perfect party snack that brings all the flavors of a juicy cheeseburger into a bite-sized form. They’re loaded with seasoned beef, melted cheese, and tangy pickles tucked between soft, buttery slider rolls. Each bite delivers a balance of smoky beef, creamy cheese, and toasted bread goodness.
This recipe is quick, easy, and ideal for feeding a crowd at game nights, picnics, or family dinners. The chopped burger filling cooks in minutes, and assembling the sliders takes even less time. You can even prepare them ahead of time and bake just before serving for the freshest, gooey result.
Whether you’re craving a fast weeknight dinner or a crowd-pleasing appetizer, chopped cheeseburger sliders are guaranteed to satisfy your burger cravings in a fun, shareable way.
Ingredients List
– 1 ½ pounds ground beef (80/20 for best flavor)
– 1 tablespoon olive oil
– 1 medium onion, finely diced
– 1 teaspoon garlic powder
– 1 teaspoon onion powder
– 1 tablespoon Worcestershire sauce
– Salt and pepper to taste
– 12 slider rolls (Hawaiian or brioche)
– 8 slices American cheese or cheddar cheese
– ½ cup pickles, chopped
– ¼ cup mayonnaise
– 2 tablespoons ketchup
– 1 tablespoon mustard
– 2 tablespoons melted butter
– 1 teaspoon sesame seeds (optional)
Step-by-Step Instructions
Step 1: In a large skillet, heat olive oil over medium heat. Add diced onions and cook for 3–4 minutes until translucent. Add ground beef and break it apart with a spatula. Cook until browned and no longer pink.
Step 2: Drain excess fat if needed. Stir in Worcestershire sauce, garlic powder, onion powder, salt, and pepper. Mix well and cook for another minute to allow the flavors to meld.
Step 3: While the beef cooks, slice the slider rolls horizontally in half, keeping the top and bottom halves intact. Place the bottom halves on a parchment-lined baking sheet.
Step 4: Spread mayonnaise, ketchup, and mustard evenly over the bottom half of the rolls. Layer the cooked beef mixture evenly across the surface, then sprinkle chopped pickles on top.
Step 5: Lay the cheese slices over the beef mixture, covering it completely. Place the top half of the rolls over the cheese. Brush melted butter over the tops of the rolls and sprinkle sesame seeds if desired.
Step 6: Bake in a preheated oven at 375°F (190°C) for 10–12 minutes or until the tops are golden brown and the cheese is melted. Slice into individual sliders and serve hot.
Cook Time
Prep Time: 10 minutes
Cook Time: 20 minutes
Total Time: 30 minutes
Servings
Makes 12 sliders
Nutritional Information (approx. per slider)
Calories: 290
Carbs: 15g
Protein: 17g
Fat: 18g
Storage Instructions
Store leftover sliders in an airtight container in the refrigerator for up to 3 days. Reheat in the oven at 350°F (175°C) for 5–7 minutes until warmed through. Avoid microwaving if possible to maintain the texture of the rolls.
For longer storage, freeze unbaked sliders wrapped tightly in foil for up to 2 months. When ready to serve, bake from frozen for 15–18 minutes or until hot and melted.
Pairings/Suggestions
Serve these sliders with crispy French fries, onion rings, or a side of coleslaw for a complete meal. They also pair beautifully with dipping sauces like spicy mayo, barbecue sauce, or ranch dressing. For a lighter side, add a simple salad or roasted vegetables.
Seasonal Relevance
Chopped cheeseburger sliders are perfect for summer cookouts, fall game days, or any casual get-together. Their easy prep and hearty flavor make them ideal for holidays, parties, and tailgating. You can even take them on picnics since they’re easy to transport and eat without utensils.
Health Benefits
While chopped cheeseburger sliders are an indulgent treat, you can make them a bit healthier with simple swaps. Use lean ground beef or ground turkey for less fat, and opt for whole-grain slider buns for extra fiber. The protein from beef supports muscle health, while the small portions make portion control easy. Adding pickles gives a dose of probiotics, and a fresh veggie side can balance the meal with vitamins and minerals.

Pros and Cons
| Pros | Cons |
|---|---|
| Quick and easy to make | Best served fresh |
| Perfect for parties and gatherings | Can get soggy if stored too long |
| Customizable with toppings | Requires oven baking |
| Great for kids and adults alike | High in calories if overindulged |
Conclusion
Chopped cheeseburger sliders are the ultimate fusion of convenience and comfort food. Each bite delivers the familiar flavors of a juicy cheeseburger, melted cheese, and buttery buns—all packed into a handheld size that’s perfect for sharing.
These sliders are not just delicious but also incredibly versatile. Whether you’re feeding a hungry crowd or prepping a quick family meal, they’re guaranteed to please everyone at the table. Once you try them, they’ll quickly become a go-to favorite for every occasion.

Chopped Cheeseburger Sliders
Course: Cheeseburger Sliders Recipes12
servings10
minutes20
minutes290
kcalChopped cheeseburger sliders bring all the flavor of a classic cheeseburger into bite-sized sandwiches. Soft, buttery rolls filled with juicy beef, melty cheese, and tangy pickles make them irresistible for any occasion.
Ingredients
– 1 ½ pounds ground beef (80/20 for best flavor)
– 1 tablespoon olive oil
– 1 medium onion, finely diced
– 1 teaspoon garlic powder
– 1 teaspoon onion powder
– 1 tablespoon Worcestershire sauce
– Salt and pepper to taste
– 12 slider rolls (Hawaiian or brioche)
– 8 slices American cheese or cheddar cheese
– ½ cup pickles, chopped
– ¼ cup mayonnaise
– 2 tablespoons ketchup
– 1 tablespoon mustard
– 2 tablespoons melted butter
– 1 teaspoon sesame seeds (optional)
Directions
- In a large skillet, heat olive oil over medium heat. Add diced onions and cook for 3–4 minutes until translucent. Add ground beef and break it apart with a spatula. Cook until browned and no longer pink.
- Drain excess fat if needed. Stir in Worcestershire sauce, garlic powder, onion powder, salt, and pepper. Mix well and cook for another minute to allow the flavors to meld.
- While the beef cooks, slice the slider rolls horizontally in half, keeping the top and bottom halves intact. Place the bottom halves on a parchment-lined baking sheet.
- Spread mayonnaise, ketchup, and mustard evenly over the bottom half of the rolls. Layer the cooked beef mixture evenly across the surface, then sprinkle chopped pickles on top.
- Lay the cheese slices over the beef mixture, covering it completely. Place the top half of the rolls over the cheese. Brush melted butter over the tops of the rolls and sprinkle sesame seeds if desired.
- Bake in a preheated oven at 375°F (190°C) for 10–12 minutes or until the tops are golden brown and the cheese is melted. Slice into individual sliders and serve hot.
Recipe Video
Notes
- Juicy chopped cheeseburger sliders baked to golden perfection with melted cheese and soft rolls.Perfect for parties, game nights, or quick family dinners.Loaded with beef, pickles, and sauce for a true cheeseburger flavor in every bite.
FAQs
Q1: Can I make chopped cheeseburger sliders ahead of time?
Yes! Assemble the sliders a few hours ahead, cover them with foil, and refrigerate. Bake just before serving for the best taste and texture.
Q2: Can I use different cheese types?
Absolutely. Cheddar, mozzarella, pepper jack, or Swiss all melt beautifully and bring unique flavors to the sliders.
Q3: How do I prevent soggy buns?
Make sure to drain the cooked beef well and use the condiments sparingly. Baking uncovered for a few extra minutes also helps crisp the tops slightly.
Q4: Can I use ground turkey instead of beef?
Yes, ground turkey works great for a lighter version. Just season generously to add more depth of flavor.
Q5: What’s the best way to serve these at a party?
Keep the sliders warm in the oven on low heat or a covered tray. Guests can grab them easily, and they’ll stay melty and delicious throughout the event.


